EVE-NG: Custom linux image preparation

Quick tutorial

  • Download the Linux iso image (ubuntu server Linux 22.04 iso). You can choose your favorite one. I’m downloading directly to the EVE-NG server using wget and terminal:
~$ wget https://forksystems.mm.fcix.net/ubuntu-releases/22.04.2/ubuntu-22.04.2-live-server-amd64.iso
  • Create a new directory:
~$ sudo mkdir /opt/unetlab/addons/qemu/linux-ubuntu-server-22.04/
  • Move the downloaded ISO image to the directory and rename the file to cdrom.iso (copy from your machine or from the folder where it was initially downloaded), and switch to the directory created earlier:
~$ sudo mv ubuntu-22.04.2-live-server-amd64.iso /opt/unetlab/addons/qemu/linux-ubuntu-server-22.04/cdrom.iso
~$ cd /opt/unetlab/addons/qemu/linux-ubuntu-server-22.04/
  • Create future HDD for the Linux template. I picked 20G since we don’t expect to store a large amount of data on these VMs:
~$ sudo /opt/qemu/bin/qemu-img create -f qcow2 virtioa.qcow2 20G
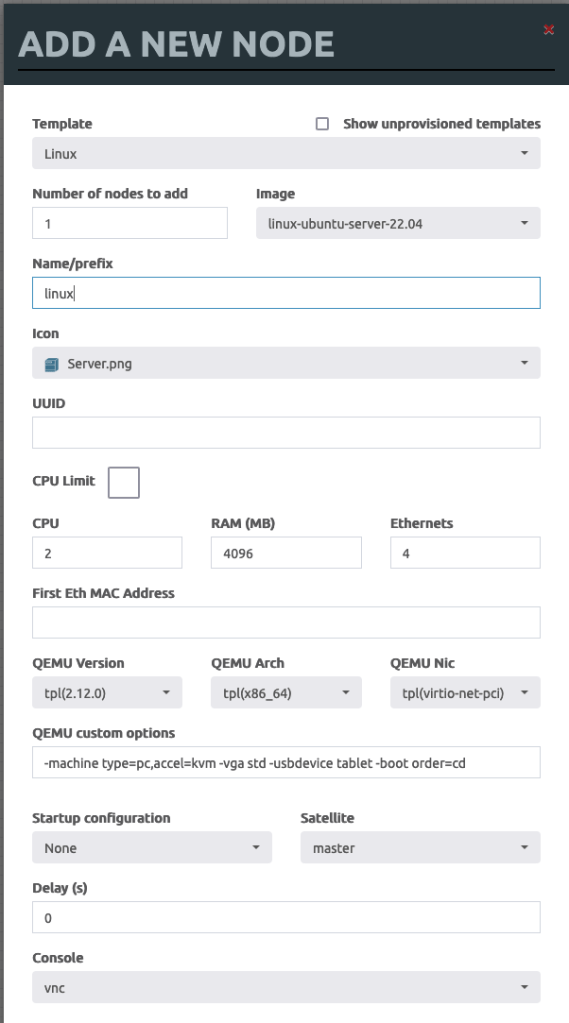
  • Create Lab and add a new VM in the lab environment, upgrade, and customize before converting it into the template.
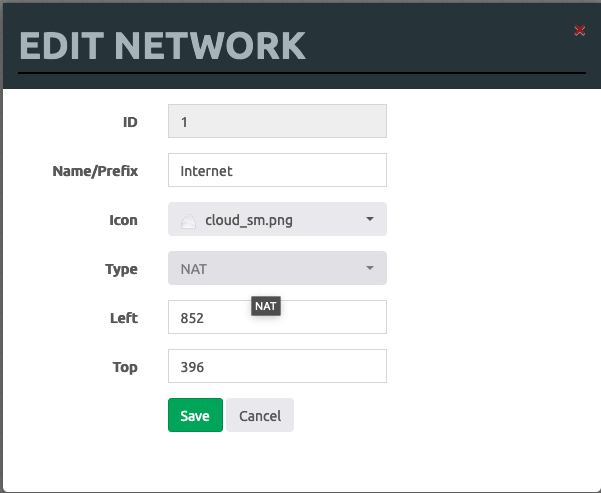
  • Create an Internet cloud to provide Internet access for the future template:
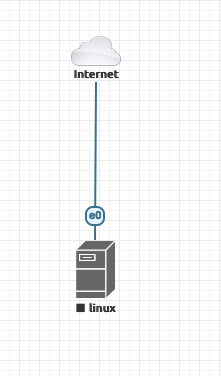
  • Connect future Linux template to the Internet cloud to download all necessary packages.
  • I’ll not be covering Ubuntu server installation since many online tutorials exist. I’ll mention that during my installation process, I’ve added some network-related packages listed below:
    • docker
    • ifenslave
    • bridge-utils
    • frr
  • Power of the VM after it was customized and pre-configured with all required packages. Find the VM and commit the disk:
lab01:/opt/unetlab/addons/qemu/linux-ubuntu-server-22.04$ cd /opt/unetlab/tmp/1/af395d74-32a9-40d7-8881-a7293337ed89/1/
lab01:/opt/unetlab/tmp/1/af395d74-32a9-40d7-8881-a7293337ed89/1$ ls -la
total 6766172
drwxrwsr-x  5 root unl        4096 Apr  7 16:19 .
drwxrwsr-x  3 root unl        4096 Apr  7 15:54 ..
-rw-rw-r--  1 root unl           0 Apr  7 16:08 .prepared
-rw-rw-r--  1 root unl  1975971840 Apr  7 15:54 cdrom.iso
drwxr-sr-x  3 root root       4096 Oct 26 17:28 dev
drwxr-sr-x  2 root root       4096 Apr  7 16:21 jail
-rw-rw-r--  1 root unl           0 Apr  7 16:08 l1down_1
-rw-rw-r--  1 root unl           0 Apr  7 16:08 l1down_2
-rw-rw-r--  1 root unl           0 Apr  7 16:08 l1down_3
-rw-rw-r--  1 root unl           0 Apr  7 16:08 l1up_0
lrwxrwxrwx  1 root root          8 May  3  2022 lib -> jail/lib
lrwxrwxrwx  1 root root         10 May  3  2022 lib64 -> jail/lib64
srwxr-xr-x  1 root unl           0 Apr  7 16:08 mon-sock
drwxr-sr-x 14 root root       4096 Oct 26 17:28 opt
srwxr-xr-x  1 root unl           0 Apr  7 16:08 qmp-sock
lrwxrwxrwx  1 root root          8 May  3  2022 usr -> jail/usr
-rw-r--r--  1 root unl  4952621056 Apr  7 16:19 virtioa.qcow2
lab01:/opt/unetlab/tmp/1/af395d74-32a9-40d7-8881-a7293337ed89/1$ sudo /opt/qemu/bin/qemu-img commit virtioa.qcow2
Image committed.
lab01:/opt/unetlab/tmp/1/af395d74-32a9-40d7-8881-a7293337ed89/1$
  • After the image is committed, we can use it in the other labs. So I’ve created the following topology to continue my further tests:

Leave a comment